Starting a website with a Webflow template is a smart way to get a professional design right away. You can easily make any Webflow template your own. All you need to do is customize the template to suit your niche and style. Webflow templates provide an excellent starting point for web designers and businesses.
I will show you how to change a basic template into a unique website using three simple tools: Global Swatches, the Style Panel, and custom CSS. I will show you easy steps to change colors, styles, animations, forms and more using Webflow’s tools. Let’s get started!
Getting Started with Your Webflow Template
Let’s select and open your Webflow template project. The first step is to get familiar with its structure. These are pages, sections, containers and elements. If you figure out where the basic components are located, customization will become much easier.
Webflow templates typically come with global styles and color swatches. It is pre-configured to maintain design consistency. You can quickly apply your brand colors throughout the site without having to change the style separately.
Using Global Swatches for Brand Colors
Global swatches are reusable color variables that can be applied to the entire site. A template’s pre-built colors (like its primary, secondary and accent colors) are often saved as global swatches. Here’s how to customize them:
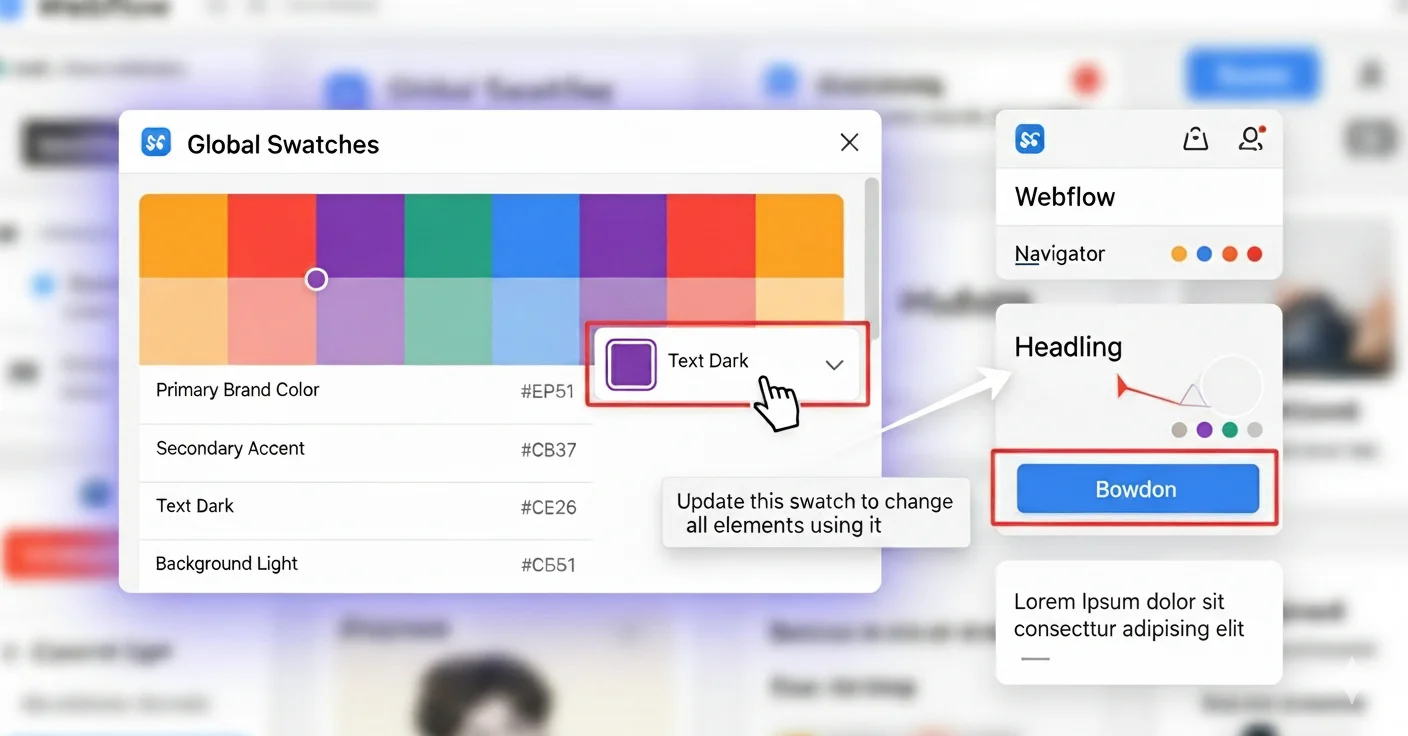
How it works:
- Open the Style Panel: With any element selected, go to the Style Panel on the right side of the Designer.
- Find the Color Swatches: Click on a color property, such as Backgrounds, Borders, or Typography, to open the color picker.
- Identify Global Swatches: You will see a row of colored squares with a small “chain link” icon above the color picker. These are your global swatches.
- Edit a Swatch: Right-click on a global swatch and select “Edit.”
- Change the Color: Enter your brand’s hex code or use the color picker to select a new one.
Watch as all buttons, headings, links, and icons using that color change instantly on every page. It’s a quick and easy way to start customizing your site.
Style Panel for Element Customization
Style panel is the heart of visual customization in Webflow. Key features include:
Typography: Change fonts, sizes, line heights, letter spacing, and weights to match your brand’s voice.
Spacing: Adjust margins and padding to control layout and white space.
Backgrounds & Borders: Apply colors, gradients, images, and border styles to sections, div blocks, buttons, and more.
Flexbox & Grid Controls: Rearrange elements precisely for a responsive design that works on all devices.
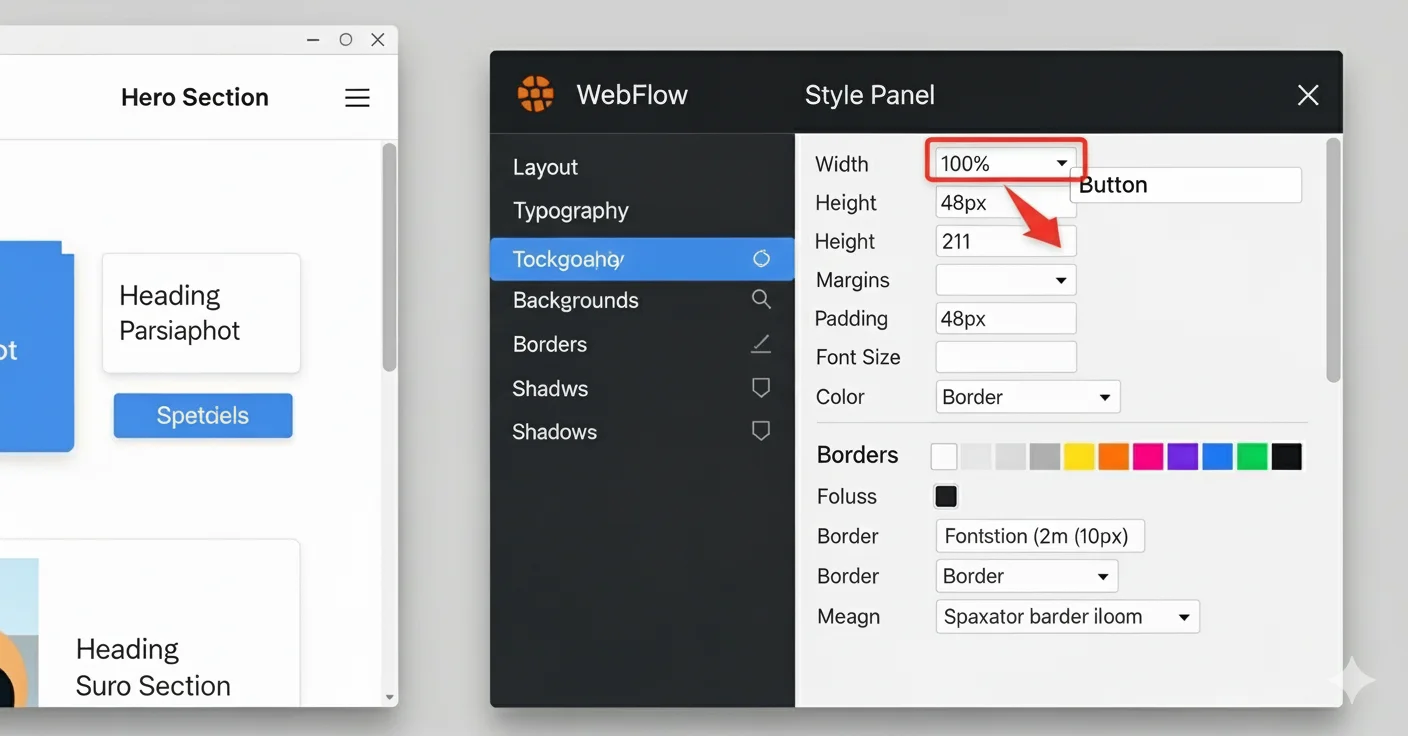
Always look for classes assigned to elements. Changing a class style applies the changes across the site to all elements that share that class. This ensures consistency with less effort. For unique element variations, Webflow allows combo classes to be layered with additional styles.
Adding Custom CSS for Advanced Styling
Sometimes custom CSS is needed to achieve specific effects. You can add your own custom CSS code in the Page or Project Settings under the custom code section. Paste your CSS rules to style specific parts of your site that you can’t change with regular tools, such as special animations or effects. Using custom CSS gives you more freedom in design.
When to use it:
- Add a custom scrollbar.
- Create a complex gradient that’s not available in the default panel.
- Build a unique hover effect on an element.
How to add custom CSS:
- Go to Page Settings > Custom Code > Head Code.
- Paste your CSS code inside <style> tags.
Animations & Transitions for Engaging UX
Animations and transitions make your site more effective. Use the Interactions panel to add animations when a page loads or when someone moves their mouse over something. You can also create effects that happen when people scroll. You can control how fast or smooth these effects happen and combine many animations like fading, sliding, or spinning.
Creating and Customizing Sliders
Sliders are great for showcasing multiple items like testimonials, case studies, or product galleries. Let’s see how to do this:
- Add a slider component from the Add panel.
- Customize the slides content layout to fit your brand’s style.
- Style navigation arrows and dots to match your color palette using global swatches.
- Adjust slider timing, animation type (fade or slide), and easing options.
- Use slider interactions for smooth transitions or pause on hover settings.
- Sliders help present information dynamically while keeping the design clean.
Effective Forms for Better Conversions
Forms help you collect information from visitors, like contact details or feedback. You can change how form fields, labels, and buttons look to match your site. Make it easy to use by adding clear focus styles and error messages.
Use animations for success or error messages to guide users. You can connect your form to tools like Zapier or create multi-step forms for better interaction. Well-made forms build trust and get more responses.
Unique Work Sections to Showcase Your Projects
Make your portfolio or piece of work unique with these Webflow customization ideas:
Masonry and Grid Layouts: Use CSS Grid or Flexbox to create dynamic project galleries with varying sizes and aspect ratios.
Hover Reveal Effects: Animate project details, titles, or call-to-action buttons that appear on hover for an interactive feel.
Filterable & Searchable Portfolios: Add category filters or search bars so visitors can easily find relevant projects.
Video Backgrounds & Previews: Use muted video loops or hover previews to showcase project highlights visually.
Lightbox Galleries: Implement lightbox popups allowing users to explore images or case studies in larger views without leaving the page.
Animated Progress Bars or Stats: Show project completion stages or performance metrics with animated visuals.
Timeline or Step-by-Step Displays: Present case studies or project workflows in chronological or sequential order for storytelling impact.
Replacing Content, Adding Micro-Animations & Optimizing Your Site
Start by replacing the demo images and text in your template with your own high-quality photos and words. It makes your site look real and matches your brand. Use Webflow’s tools to keep images loading fast.
Use the Interaction Panel to add small animations like button hover effects, link underlines, or scroll indicators. These small motions help keep visitors engaged without making the site too busy.
Finally, don’t forget to optimize your site for search engines and all device sizes. Edit meta tags, alt text for images, and page titles in Webflow’s SEO settings. Preview your site on different screens to make sure it looks good everywhere.

Frequently Asked Questions (FAQ)
1. Do I need coding skills to customize a Webflow template?
No, you don’t need to know how to code. Webflow has visual tools that let you change colors, text, images, and layouts easily. You can add simple animations and effects without coding.
2. Can I change the colors across the whole website quickly?
Yes! Using global swatches, you can update brand colors once, and the changes apply to the entire site automatically.
3. How do I replace the demo content with my own?
You can simply click on any image or text and replace it with your own photos and words.
4. Can I add animations and interactive elements?
Yes, Webflow’s Interactions panel lets you add animations like fades, hover effects, and scroll actions. These make your site more engaging for visitors.
5. What if I want to add forms or collect visitor information?
Webflow has built-in form features you can customize in style and function. You can also connect forms to other tools to handle submissions and automate emails.
6. Where can I find high-quality Webflow templates?
TNCFlow creates top-notch Webflow templates for various industries and niches. You will find them there.
Final Thoughts
Customization is not limited to appearance. Now you know how to customize any Webflow template. The best thing about Webflow is how much freedom it gives you. It’s a way to create anything you can imagine. Customizing a Webflow template is a great way to quickly build a professional website.
You can change colors, fonts, images, layouts, and even add animations and interactions to make your site unique. You can optimize your site for speed, mobile devices, and search engines to reach more people. Need more information? Click here to read more blogs and see Webflow solutions.



0 Comments